Getting started with My Schedule
This guide walks you through running Asprova My Schedule on a dedicated server: installing the server, authenticating a license, setting up your first project, connecting Asprova to it, and sharing the plan with the people who need it.
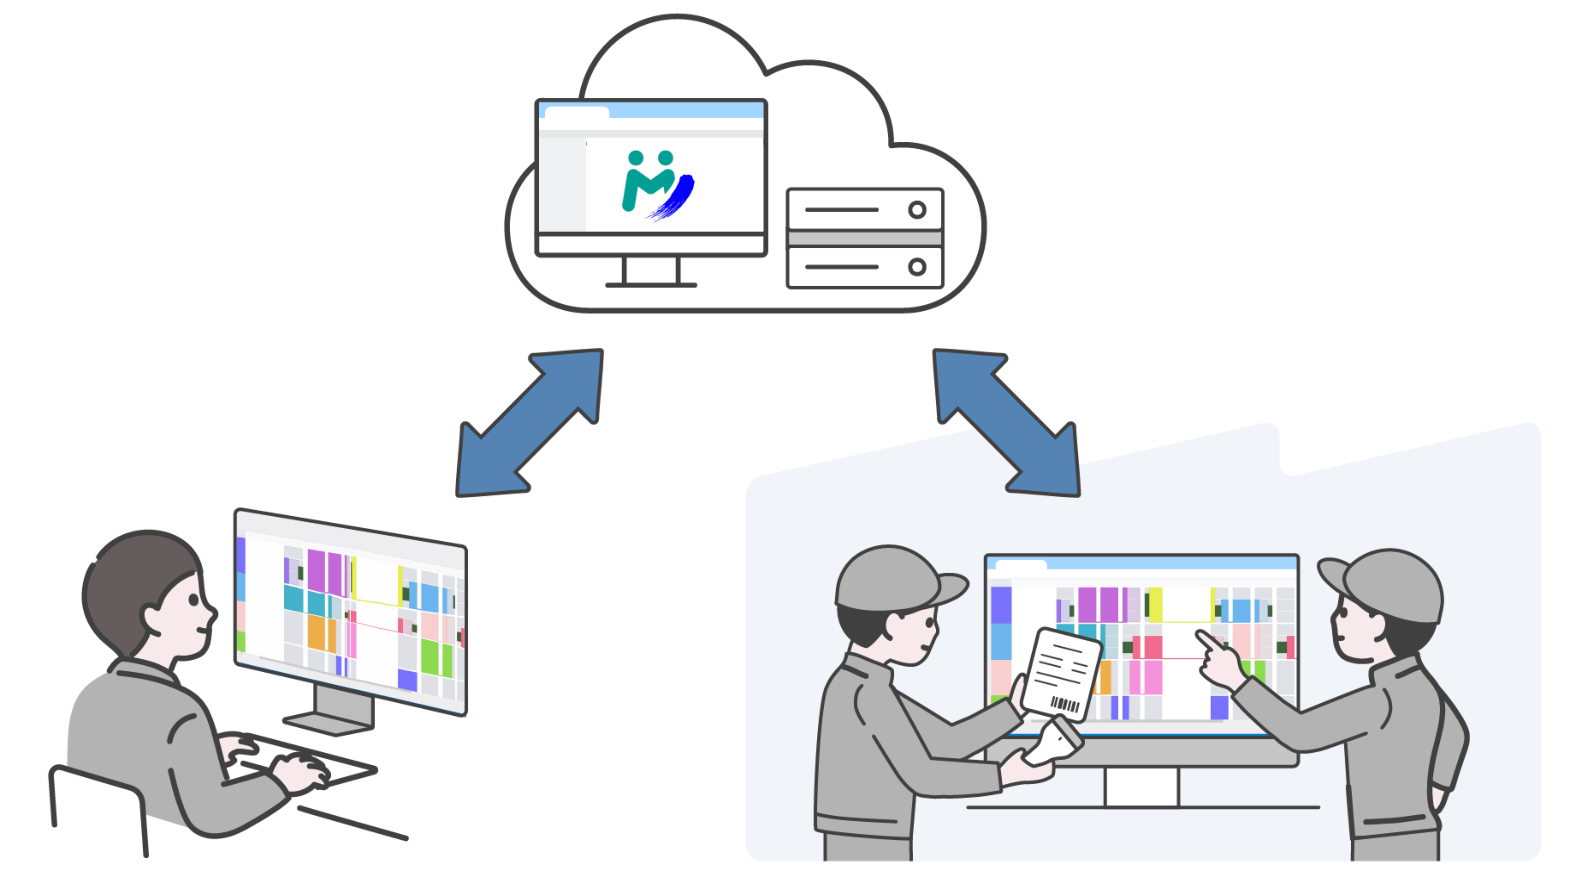
The latest version of Asprova comes with My Schedule bundled, and you can start it from the Start menu. This guide covers the other case — putting My Schedule on a server machine that does not have Asprova installed, which is how most sites run it.
The path ahead
Asprova comes with My Schedule, so you can try it on your own PC without downloading or licensing anything — see Try it out, then rejoin this path at Create a project.
Work through these pages in order. Each one ends where the next one begins.
- Install the server — download the module, run the Control Panel, start WS.
- Configure the Control Panel — host, port, HTTPS, and your first sign-in.
- Set up a license — e-Protector or online license authentication.
- Create a project — add a project and choose the views it shares.
- Connect Asprova — install the plugin and upload planning data.
- Collect results — enter results in the browser and download them into Asprova.
- Share with your users — add users and invite them to the project.
Before you start
You will need:
- A Windows machine to act as the server — see System requirements.
- Asprova ver.17.6.0.0 or later, on the planner's machine.
- An Asprova ID, to download the module.
Asprova WS is deployed on-premise on your own network. If you only want to try My Schedule out, you can run the server on the same PC as Asprova and skip the licensing step — the Free plan works without a license.